If you already have an existing account created in Thunderbird and want to add a SEI account, click here.
Initial Installation
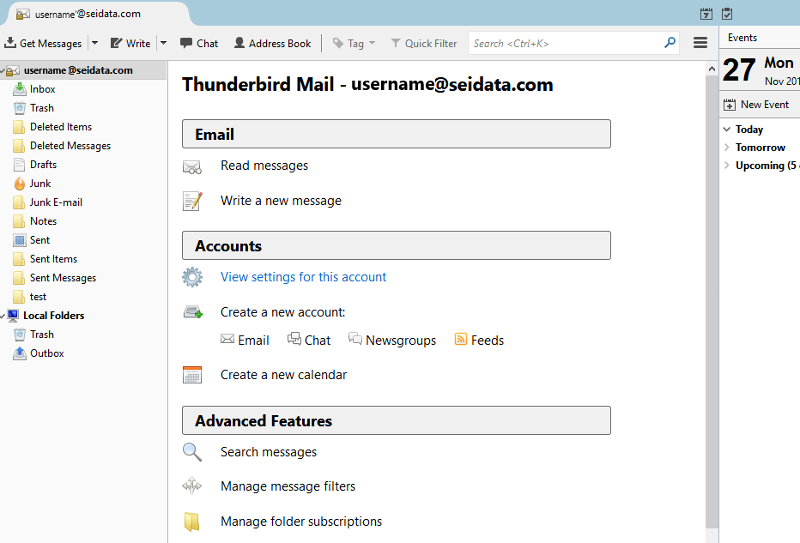
1) Open Thunderbird.
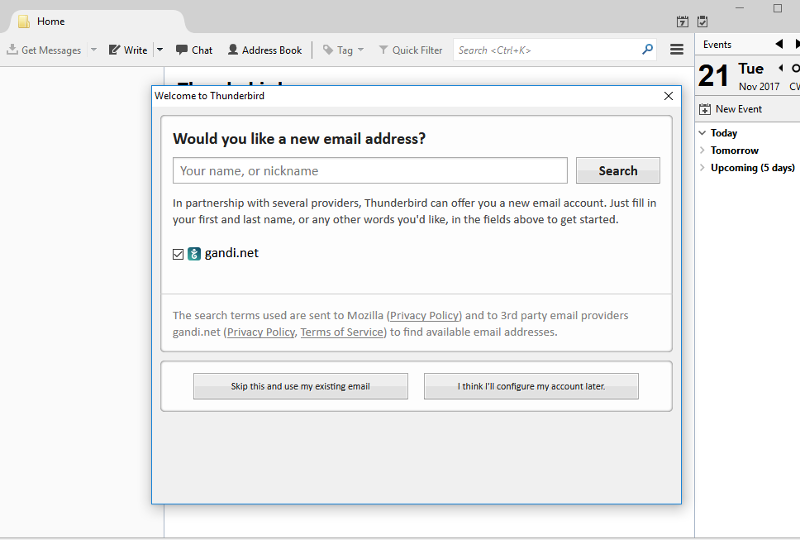
2) Click the “Skip this and use my existing email” button.
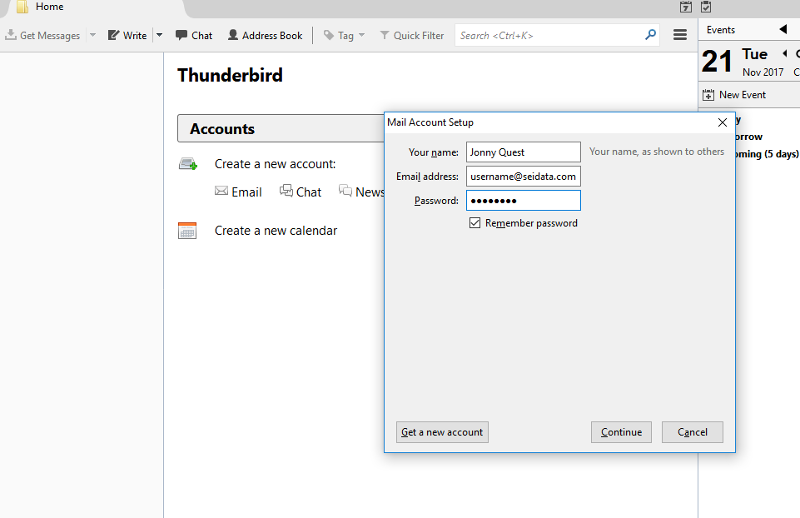
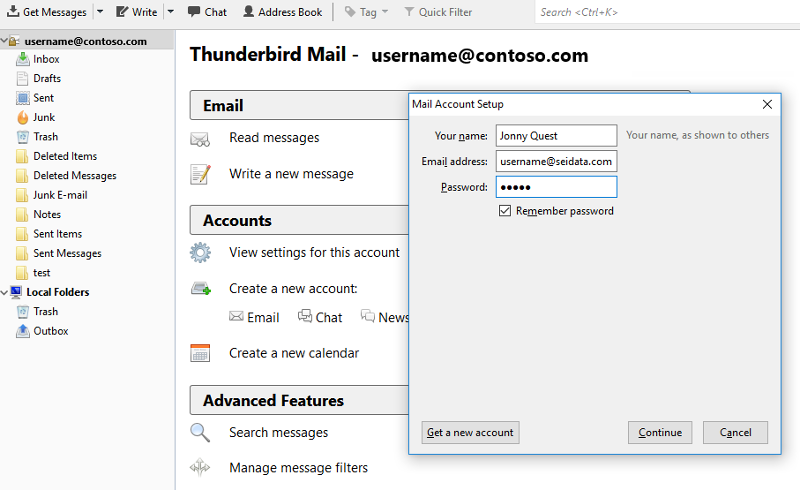
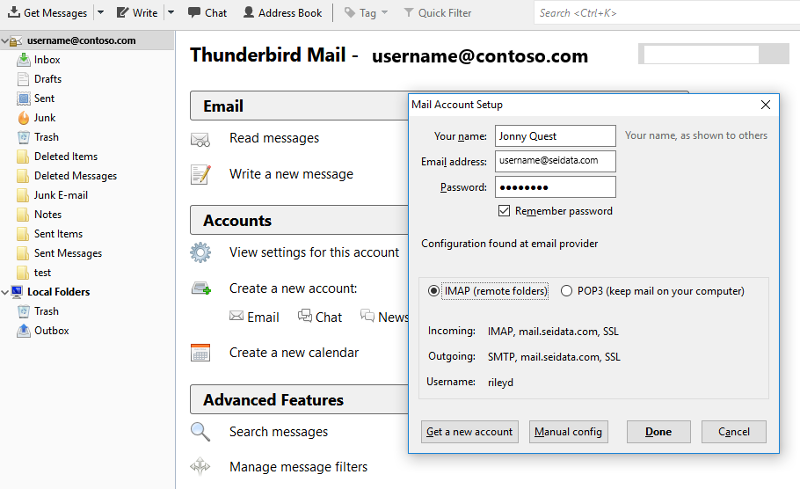
3) Enter an identifier for the mail recipients (usually your name), your SEI e-mail address, and password. If you want to log into your mail without being prompted for your password, leave the “remember password” checkbox checked. Click Continue.
4) Select either POP3 or IMAP. POP3 will move your mail to your local device. IMAP will leave your mail on the server. If you want to see your mail on several devices, it is recommended to select IMAP. Once you have made your decision, click Done.
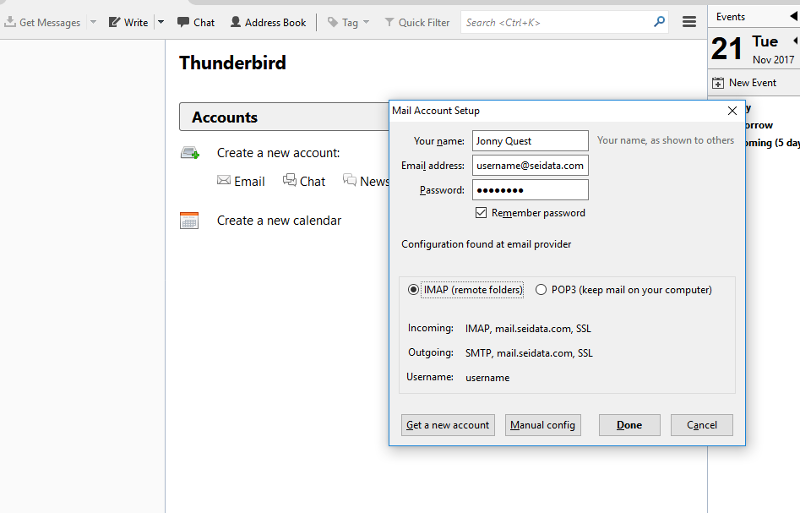
Servers Settings should be set this:
Incoming Server (IMAP):
Sever Name: imap.seidata.com OR mail.seidata.com
Port: 993
Authentication method: Normal password
Connection Security: SSL/TLS
Outbound Server (SMTP):
Sever Name: smtp.seidata.com OR mail.seidata.com
Port: 465 OR 587
Authentication method: Normal password
Connection Security: SSL/TLS OR STARTTLS
If you removed the “remember me” checkbox in step 3, you will be prompted to enter your password. Otherwise, your SEI email account setup is complete.
5) Close then re-open Thunderbird and send an e-mail.
Add an Account
1) Open Thunderbird and click on the existing email account title on the left side of the window.
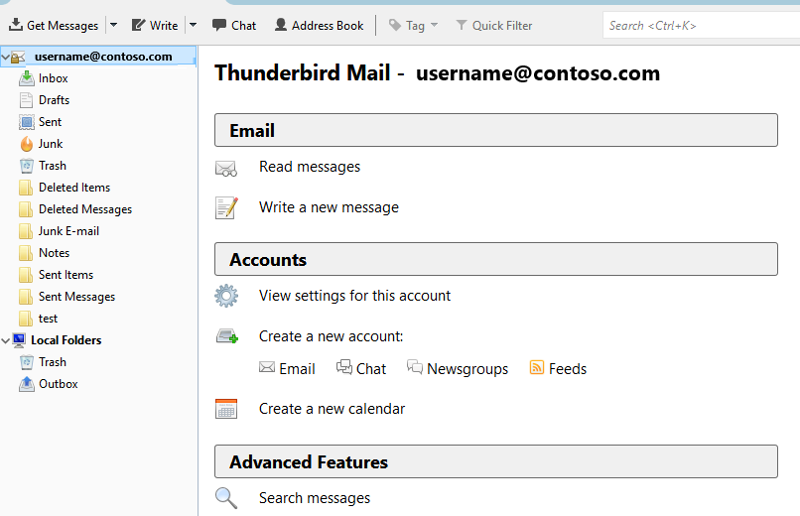
2) Click on the email option within the Create a new account section near the center of the screen.
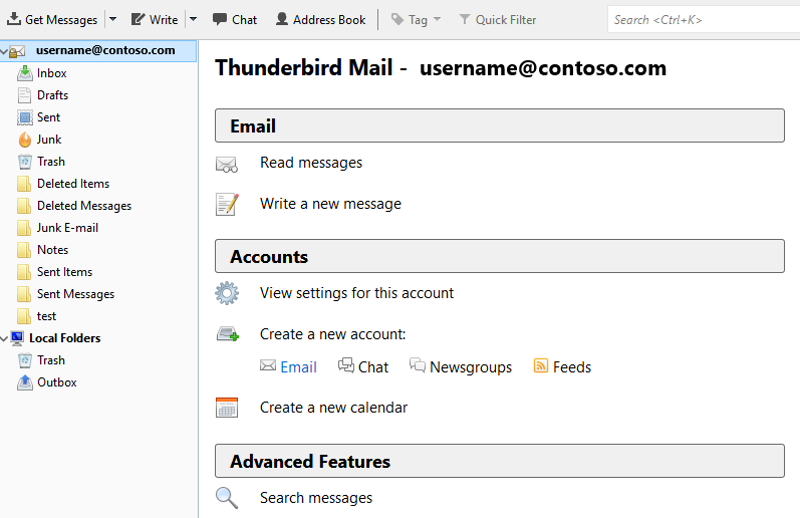
3) Click the “Skip this and use my existing email” button.

4) Enter an identifier for the mail recipients (usually your name), your SEI e-mail address, and password. If you want to log into your mail without being prompted for your password, leave the “remember password” checkbox checked. Click Continue.
5) Select either POP3 or IMAP. POP3 will move your mail to your local device. IMAP will leave your mail on the server. If you want to see your mail on several devices, it is recommended to select IMAP. Once you have made your decision, click Done.
Servers Settings should be set this:
Incoming Server (IMAP):
Sever Name: imap.seidata.com OR mail.seidata.com
Port: 993
Authentication method: Normal password
Connection Security: SSL/TLS
Outbound Server (SMTP):
Sever Name: smtp.seidata.com OR mail.seidata.com
Port: 465 OR 587
Authentication method: Normal password
Connection Security: SSL/TLS OR STARTTLS
If you removed the “remember me” checkbox in step 4, you will be prompted to enter your password. Otherwise, your SEI email account setup is complete. You should see your SEI account appear under your existing email account.

6) Close then re-open Thunderbird and send an e-mail by selecting the inbox of the appropriate email account.
|
Internet Tech Support
Available 24×7
800-925-6746 | 812-574-8800 | 812-667-8800
812-744-8800 | 812-839-8800 | 812-873-8800
|
Cellular Technical Support
Monday through Friday ~ 8:00am to 4:30pm
888-200-8077
|
©2019 SEI Communications. All Rights Reserved. Legal, Privacy, and Security Notices.
|