Urgent: Internet OutageWe are aware of the Internet outage which is due to our upstream internet providers having a cut fiber cable. They are in route to repair the cut cable.No ETA has been provided to us at this time. We’ll provide updates as they are provided to us.We understand the inconvenience this may cause and appreciate your patience and understanding while our team works to restore service.
Select Page
iPhone Email
SEI Communications, Inc – A Total Internet and Communications Company
How to setup an Apple iPhone for SEI Email access
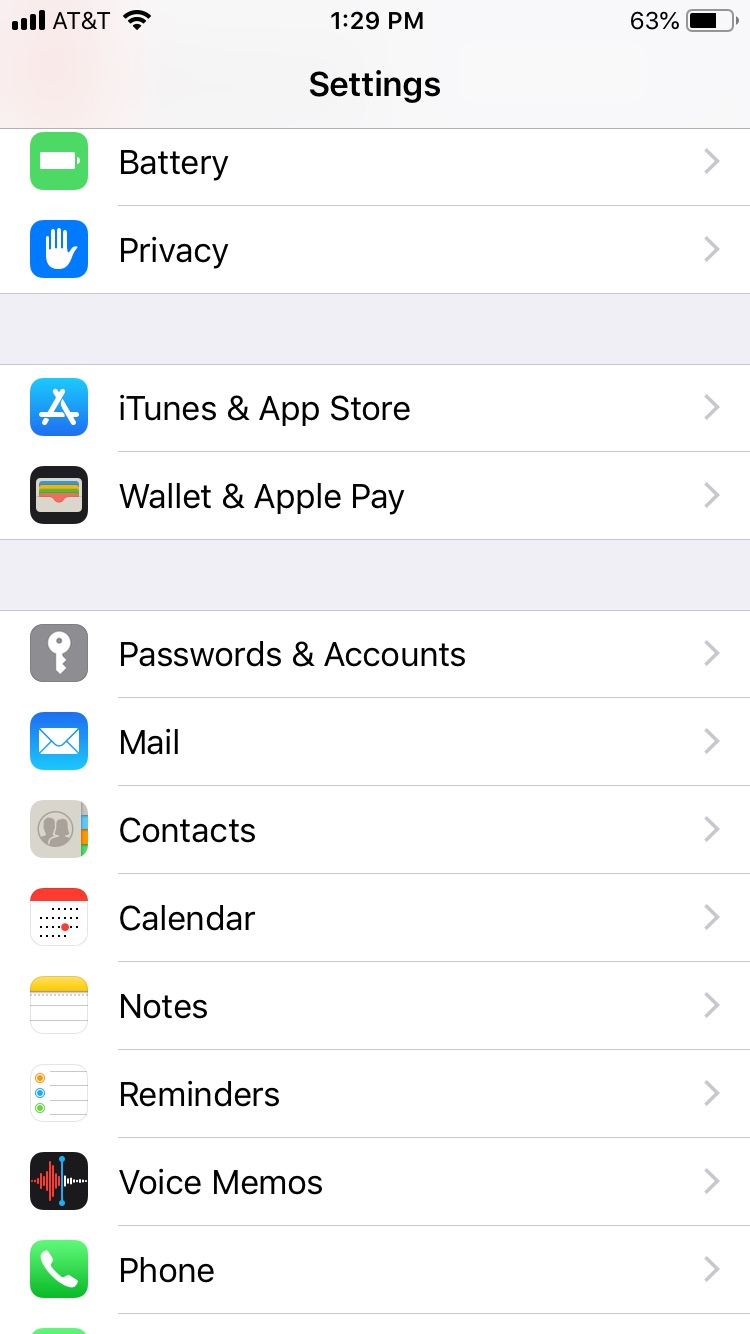
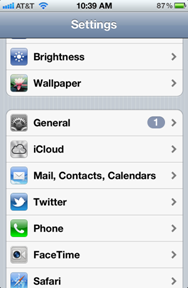
1) Touch “Settings”.
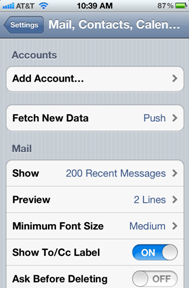
2) Scroll down to and select “Mail, Contacts, Calendars” or “Passwords & Accounts”.
or
3) Touch “Add Account…”
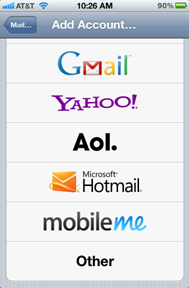
4) Scroll down and select “Other”.
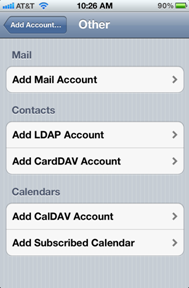
5) Touch “Add Mail Account”.
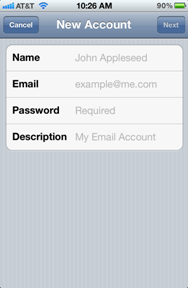
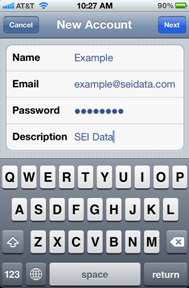
6) Enter appropriate name, e-mail address, password, and a description.
7) Touch “Next” when finished.
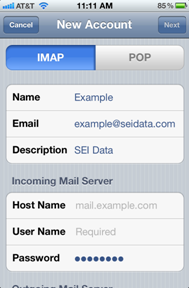
8) The iPhone will default to IMAP, but either IMAP or POP may be used..
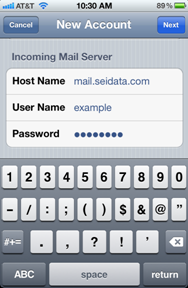
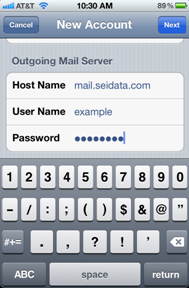
9) Touch Host Name and enter mail.seidata.com, then enter your user name and corresponding password, then press the Next button.
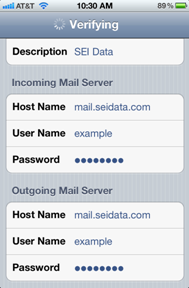
10) The iPhone will then verify the account settings.
11) Once verified, you will briefly see this and then move to the next screen.
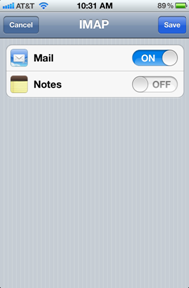
12) Touch “Save”.
13) Touch “Save”.
14) Verify that you can send and receive email.
Internet Tech Support
Available 24×7
800-925-6746 | 812-574-8800 | 812-667-8800 812-744-8800 | 812-839-8800 | 812-873-8800
Cellular Technical Support
Monday through Friday ~ 8:00am to 4:30pm
888-200-8077
 or
or