Urgent: Beware of Email Scams If you receive any suspicious emails claiming to be from us, please do not engage with them. Instead, forward them to our support team at support@seidata.com for verification.Stay vigilant and protect your personal information. Together, we can combat phishing attempts and keep our community safe.
Select Page
Adtran SDG-8612
SEI Communications, Inc – A Total Internet and Communications Company
1) From a web browser, go to “http://192.168.1.1”. Login with the username “admin” and the password “seiadmin”.
2) Click the “Network” link on the left-hand navigation.
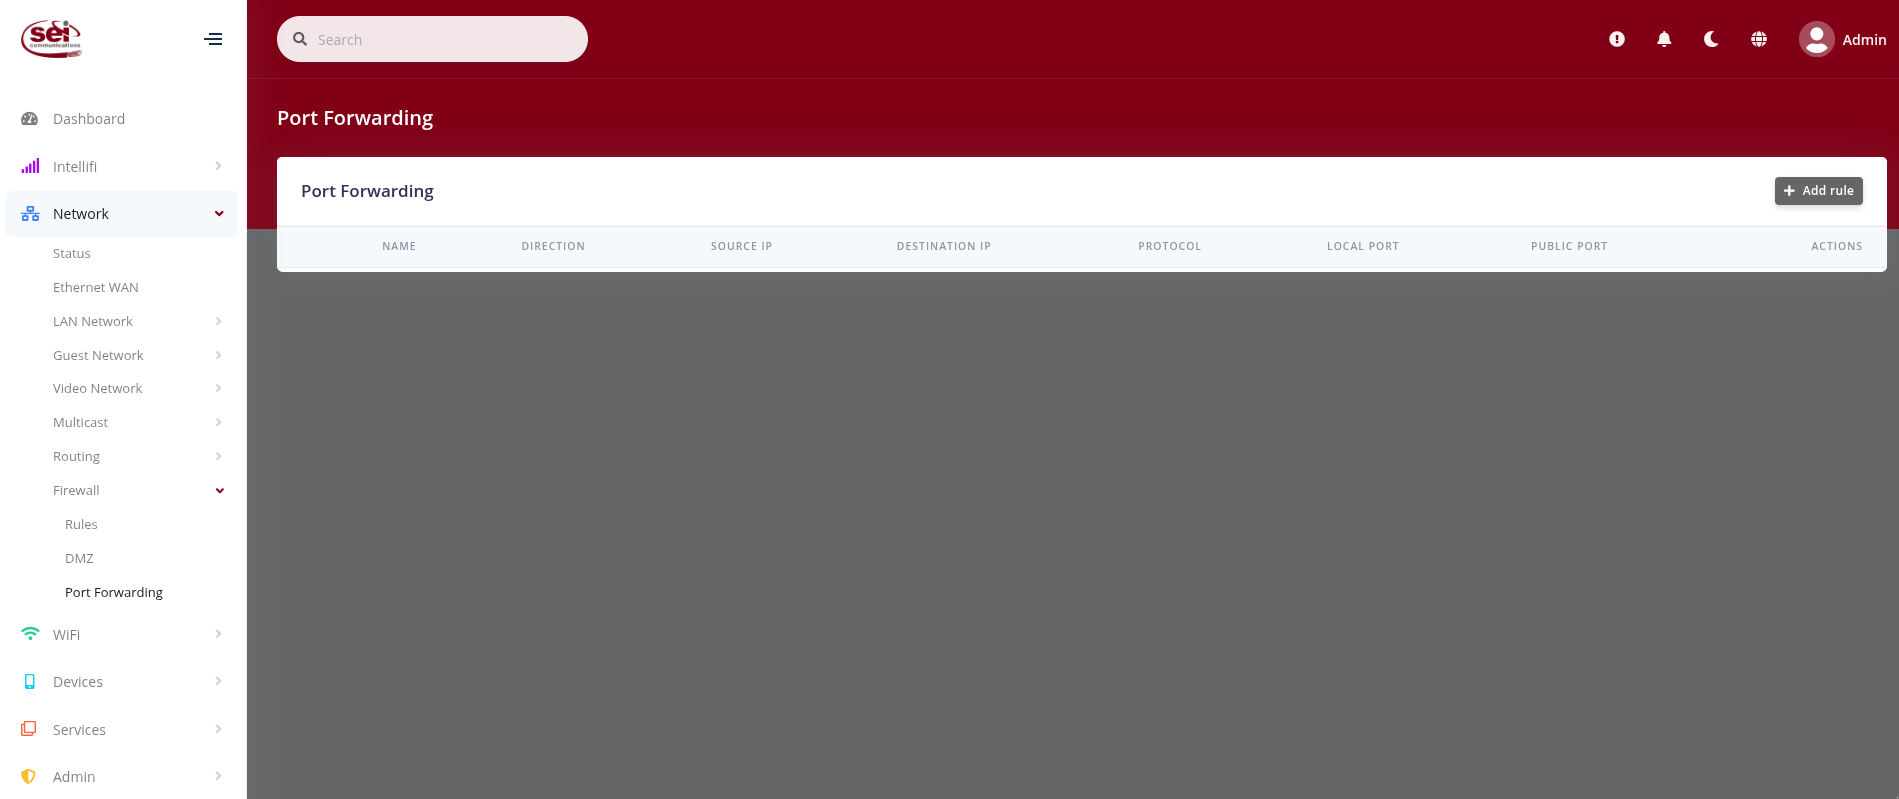
– Under the “Network” drop-down, select “Firewall”, and then click on the “Port Forwarding” link.
3) Once you are on the Port Forwarding page, click on the “+ Add rule” button.
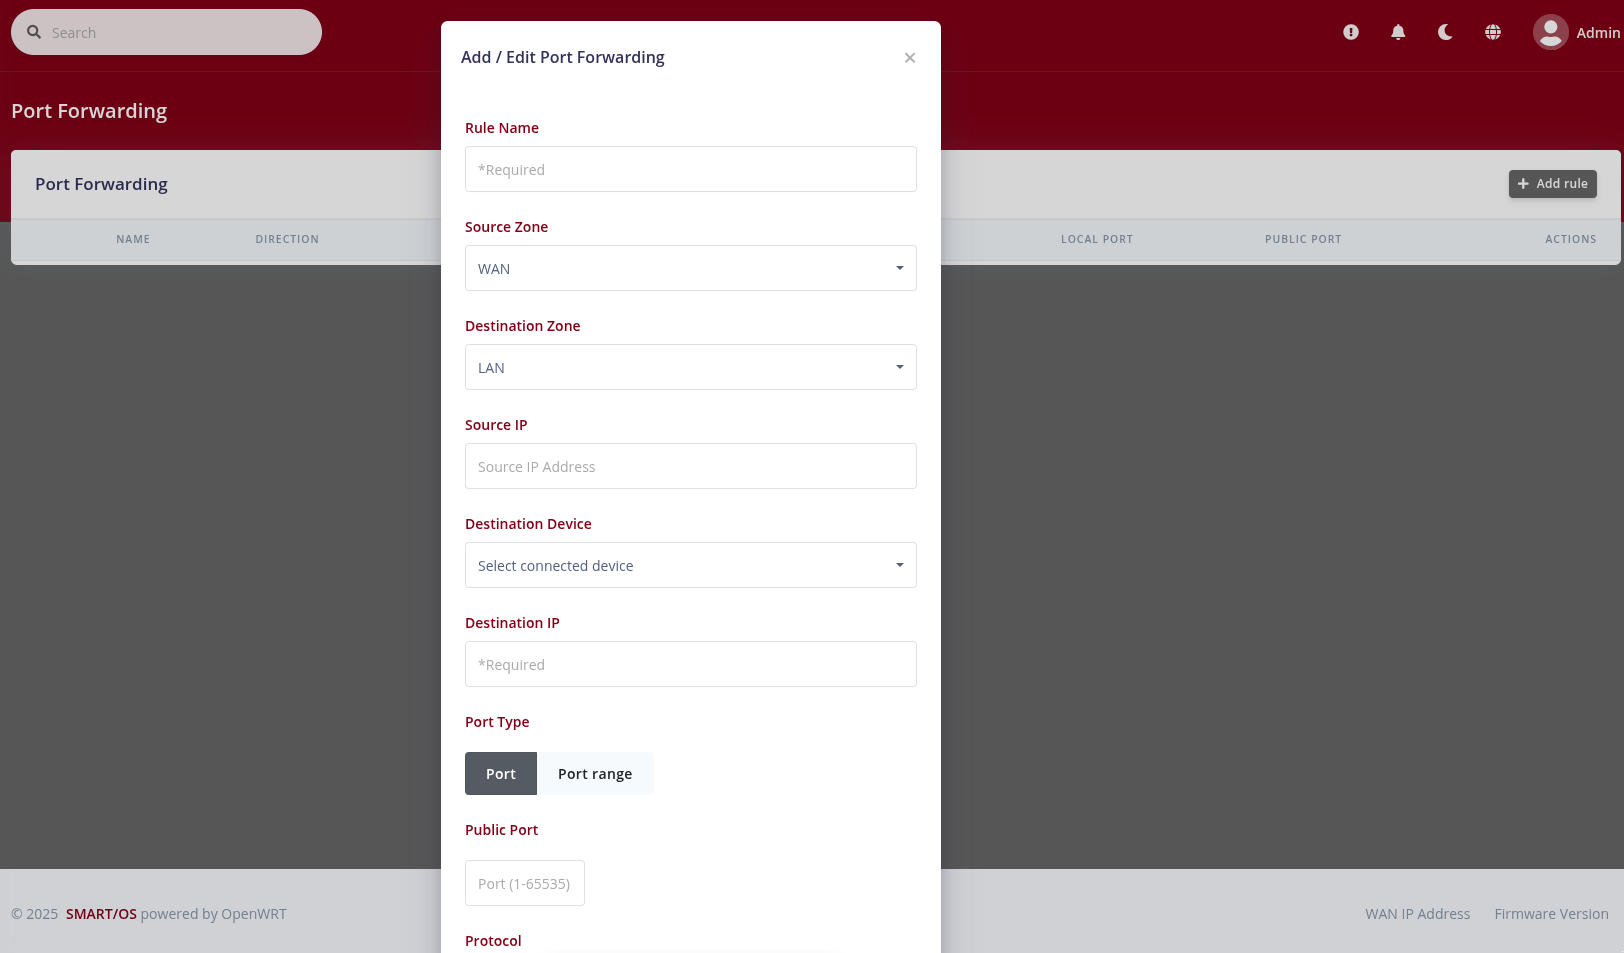
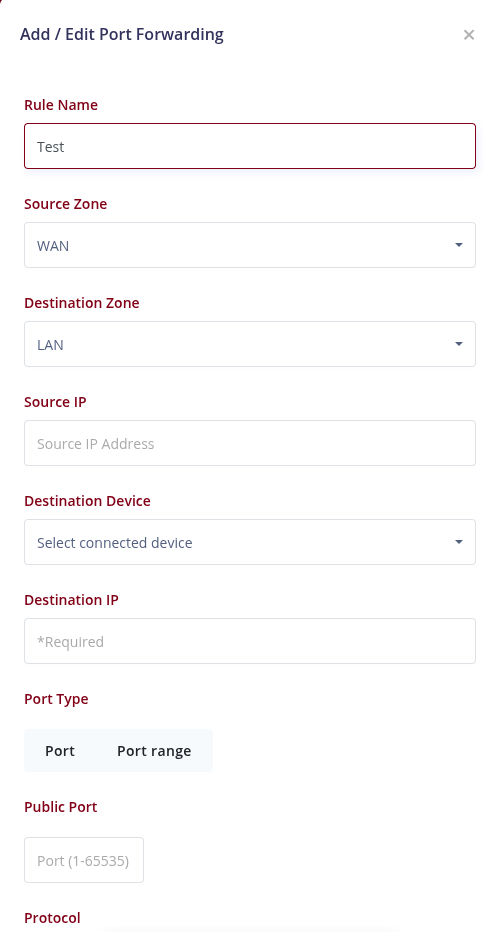
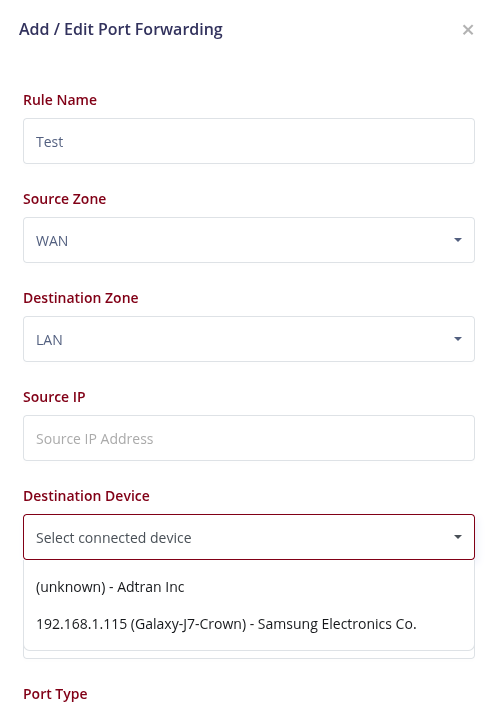
4) From here, you can create your own rule. As an example, here we are adding a Test service that will forward traffic going from the internet to the router on ports 2020-2025 to a device on the network with the IP address of 192.168.1.115 on port 22.
5) For this Test rule, we have to assign a “Destination Device”, which is IP Address 192.168.1.115.
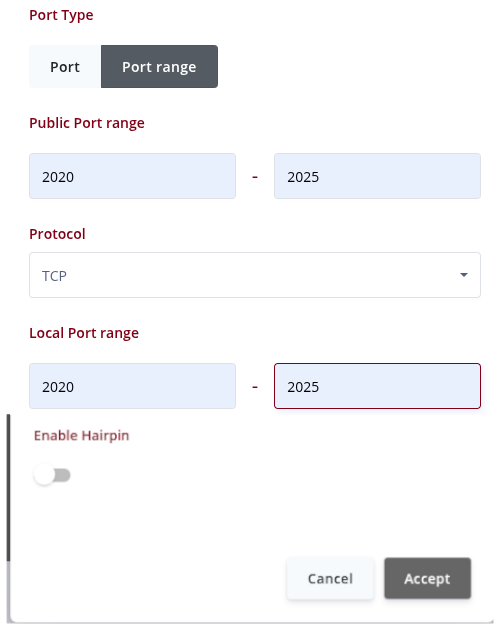
6) Next, scroll down to the Port Type section, and select Port Range.
– Input ports 2020-2025 for the Public Port range and the Local Port range. Once finished, click “Accept”.
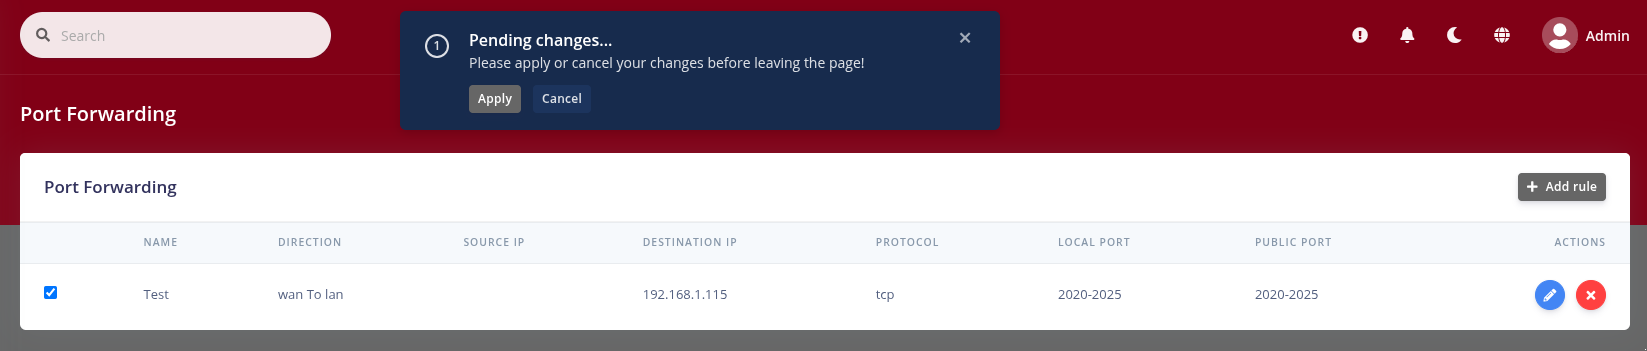
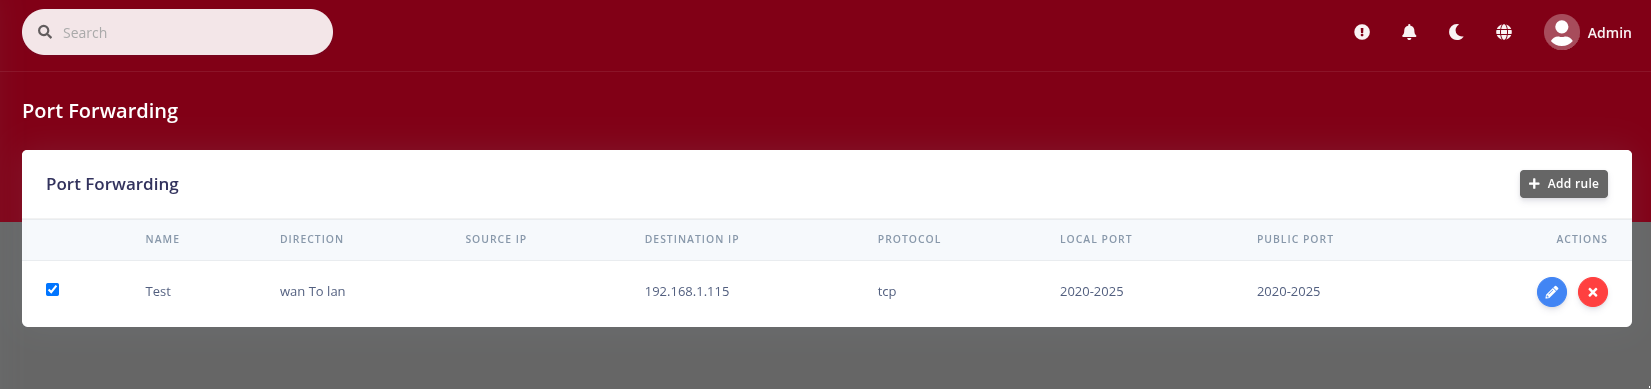
7) Finally, click on the “Apply” button to save the pending changes.
There is no WPS (Wi-Fi Protected Setup) button on the router itself. To connect printers or mesh extenders to the router using WPS, you have to log into the router itself.
1) From a web browser, go to “http://192.168.1.1”. Login with the username “admin” and the password “seiadmin”.
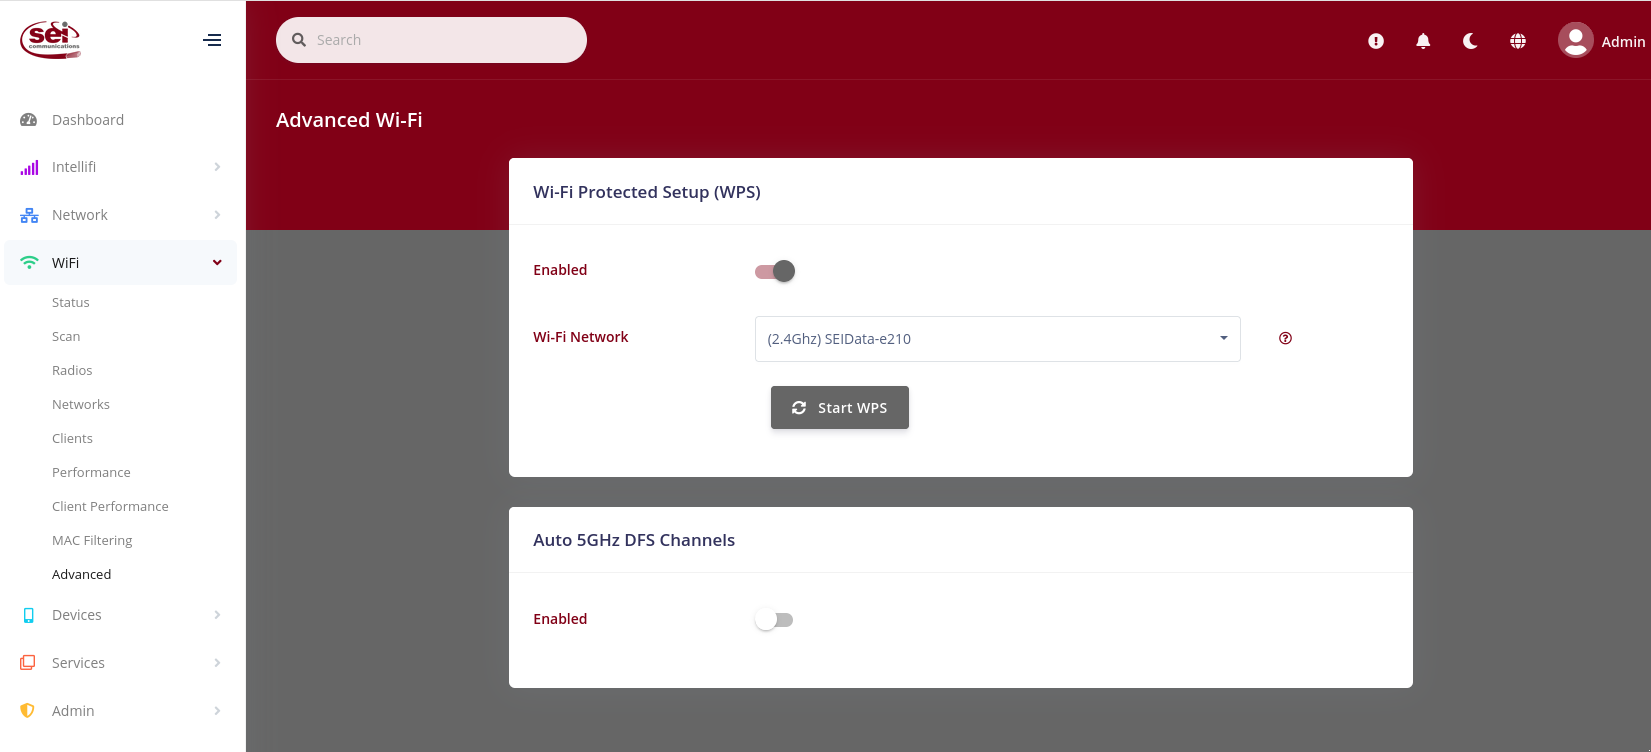
2) Click the “WiFi” link on the left-hand navigation.
– Under the “WiFi” drop-down, select “Advanced”.
3) At the same time, click the “Start WPS” button as seen on the webpage above and the WPS button on the device.
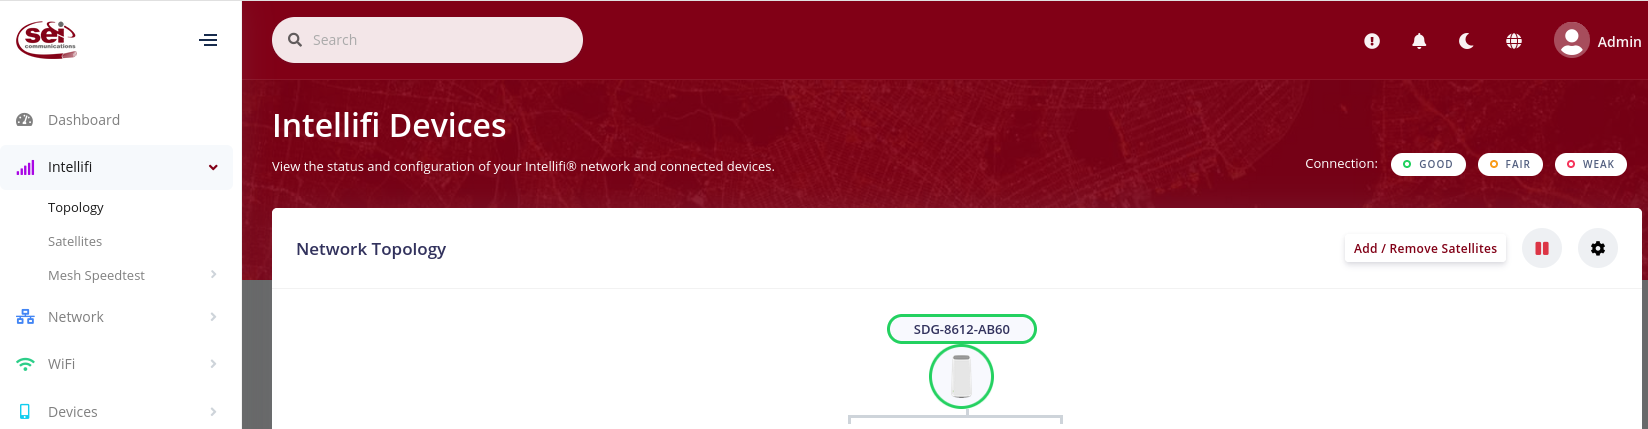
4) You should now be able to see the connected device under the “Intellifi” tab.
– Under the “Intellifi” drop-down, select “Topology”.
1) From a web browser, go to “http://192.168.1.1”. Login with the username “admin” and the password “seiadmin”.
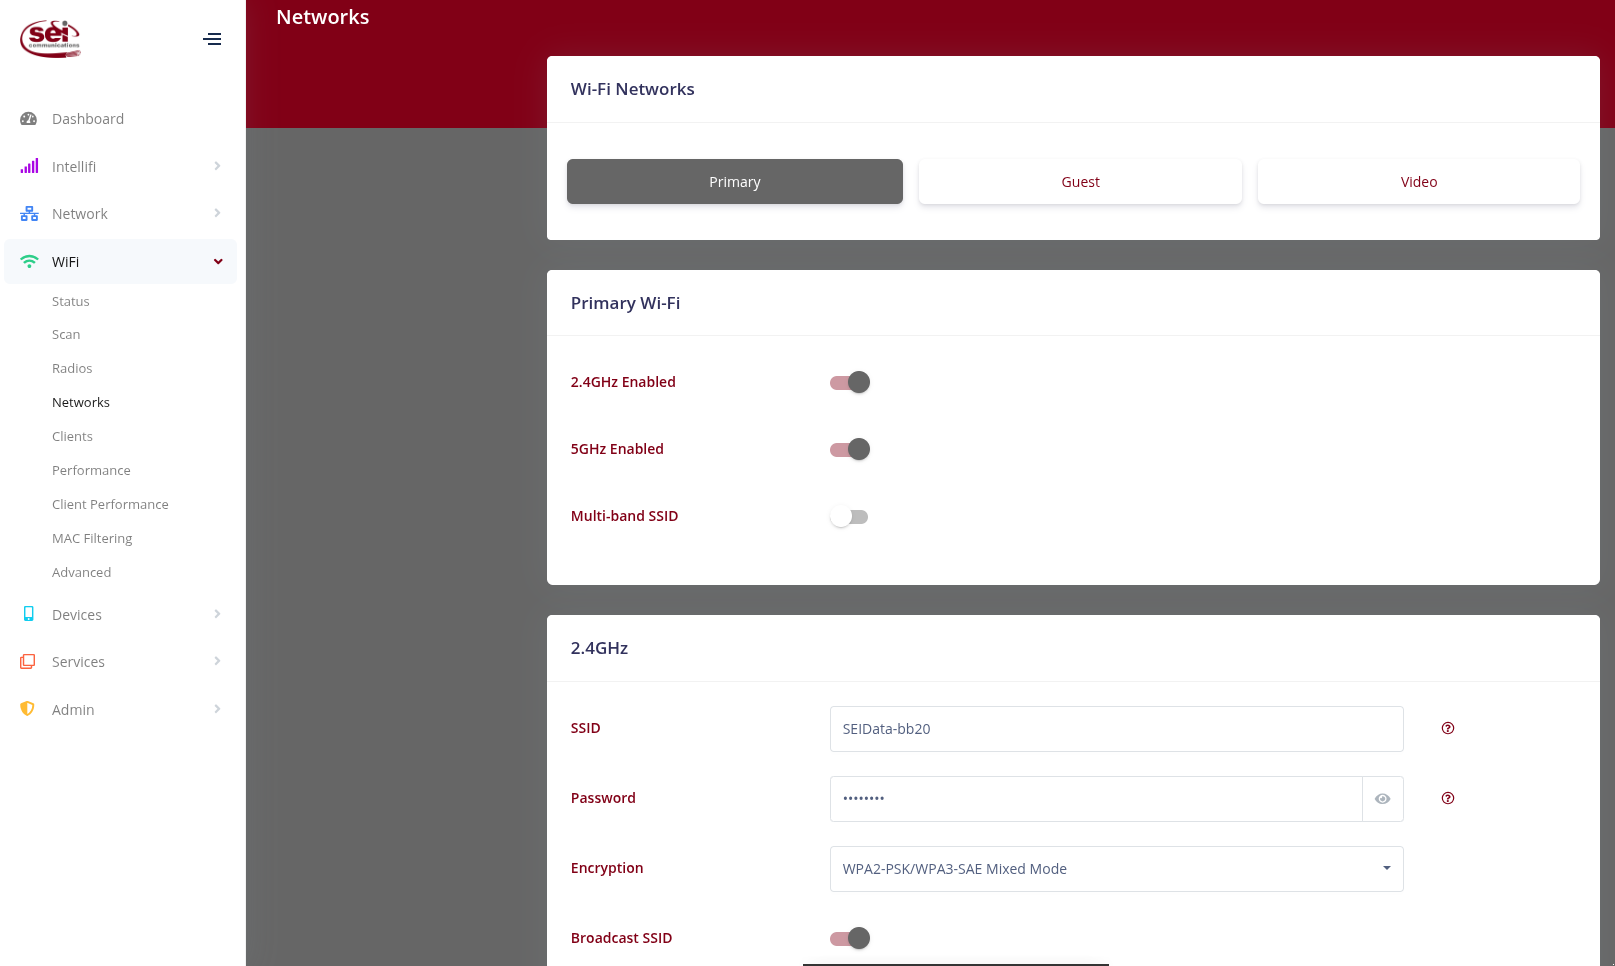
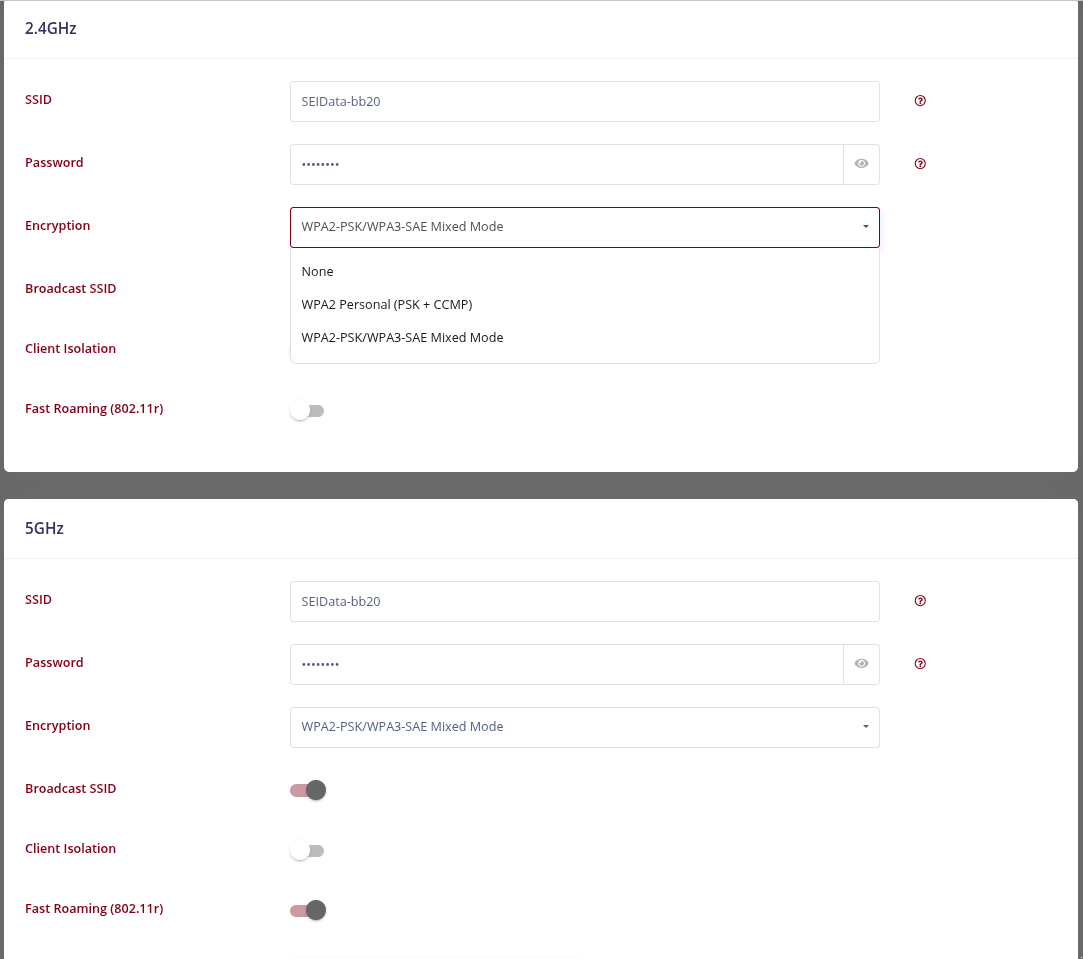
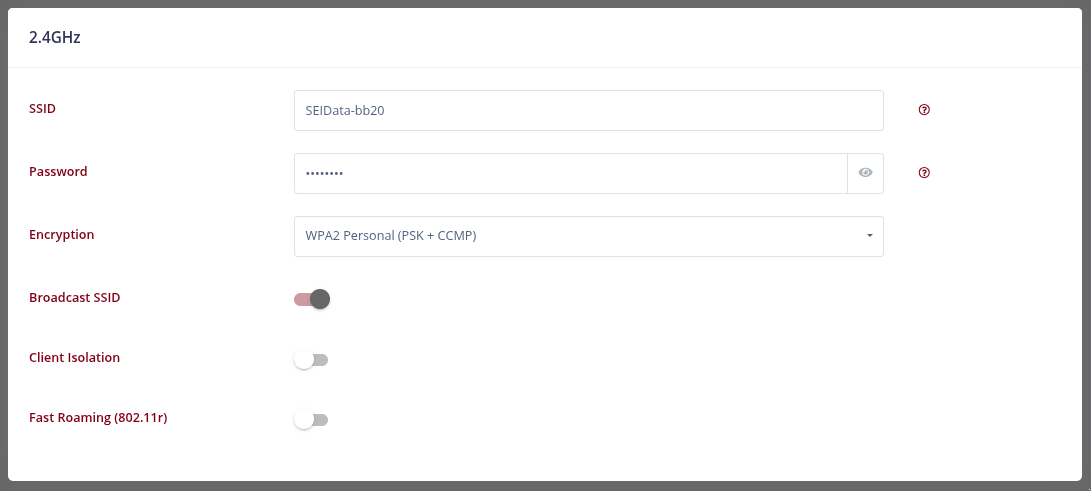
2) Go to the “WiFi” drop-down on the left-hand menu bar and click on “Networks”.
– By default, the two Network interfaces (2.4GHZ and 5GHz) are enabled and set to have the same Network name and password. However, the directions below walk you through how to change this.
– If the Multi-band SSID setting is enabled, you will only be able to have 1 single WiFi network name, password, and encryption.
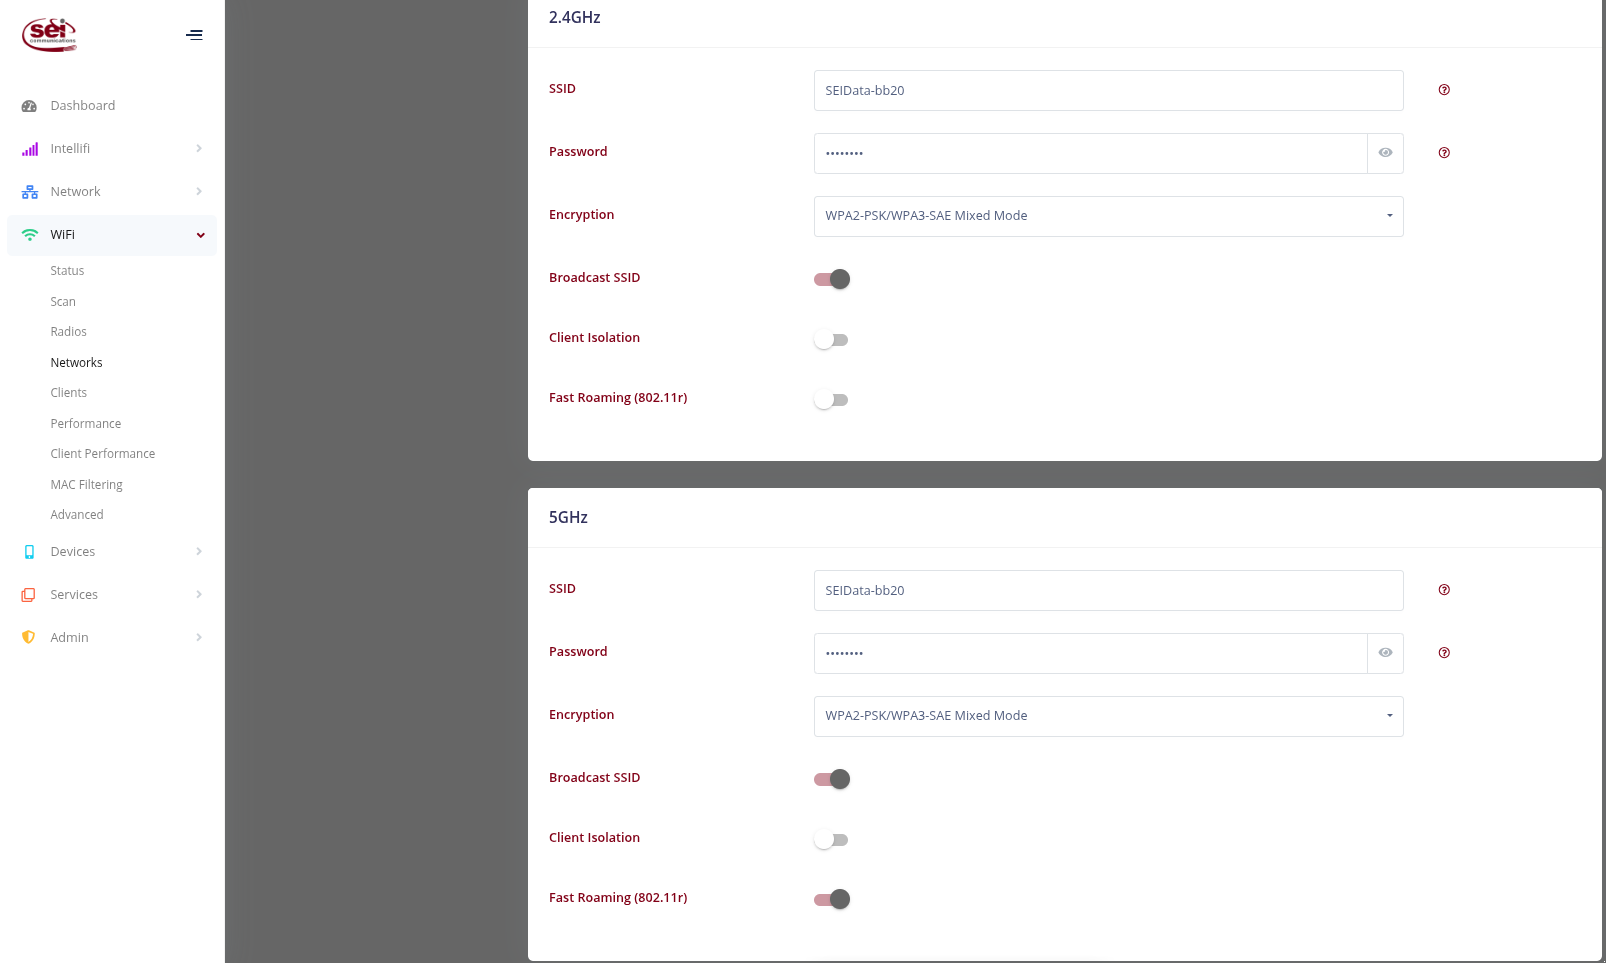
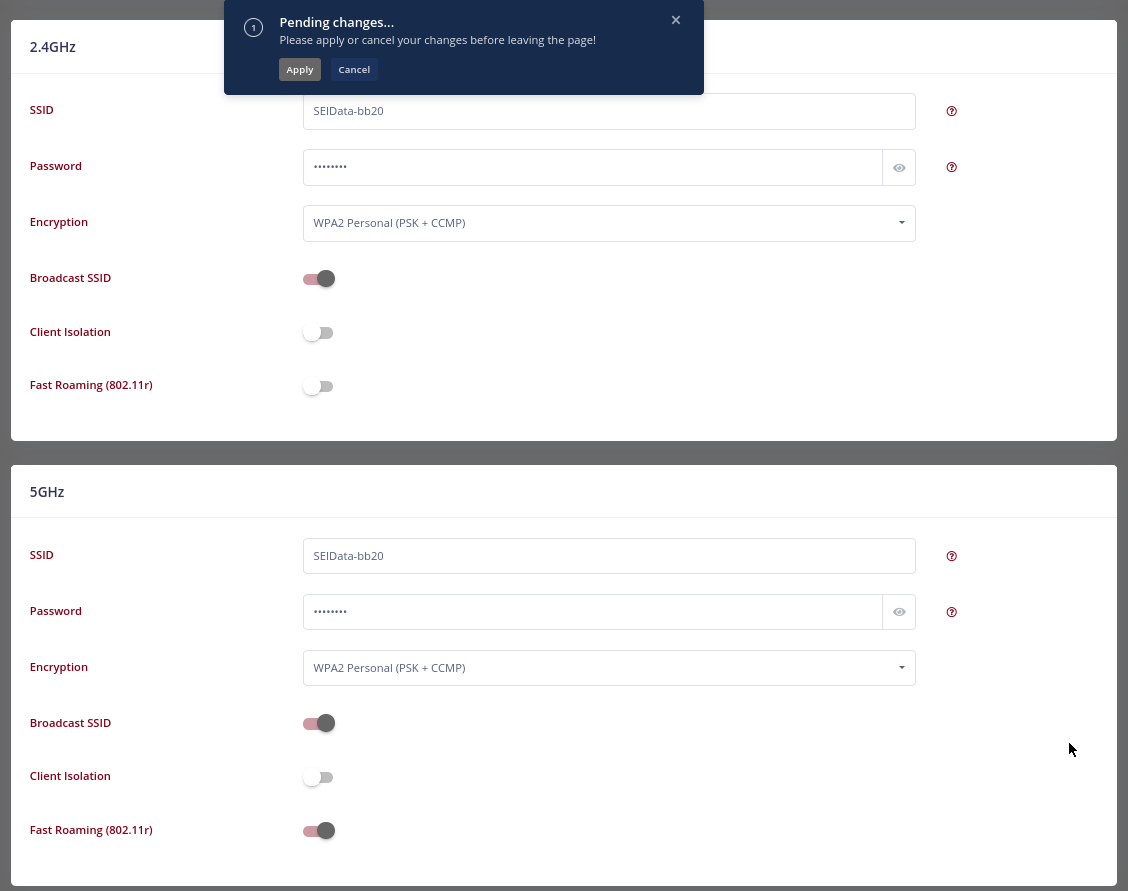
3) Scroll down to the 2.4GHz and 5GHz sections. From here, you can change the Network Name of the router by changing the name under the “SSID” line. You can also change the password for each Network interface under the “Password” line.
– The default passphrase/key is the last 8 numbers of the Serial Number located on the bottom of the router.
– Please note that this passphrase is case sensitive.
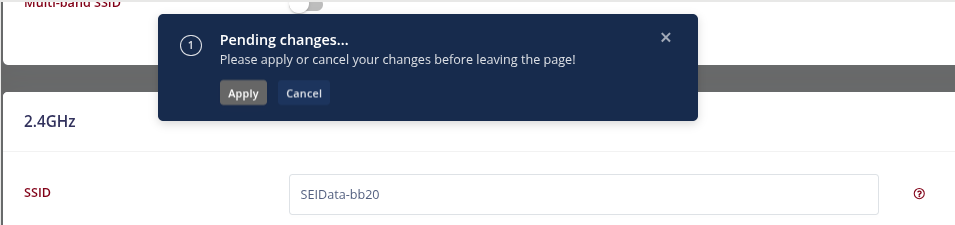
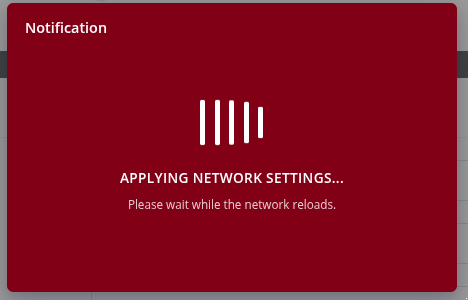
4) Once you are finished, click on the “Apply” button at the top to save your pending changes.
If you are struggling to connect older devices or you do not want to have a password on your network, you can make changes to the network’s encryption.
1) From a web browser, go to “http://192.168.1.1”. Login with the username “admin” and the password “seiadmin”.
2) Go to the “WiFi” drop-down on the left-hand menu bar and click on “Networks”.
3) Scroll down to the 2.4GHz section and click on the drop-down in the “Encryption” line. This will show your current encryption type and the other options you can change it to.
– By default, the encryption is set to the Mixed Mode option, which is the most secure. However, some older devices may not be able to connect unless the Personal (PSK + CCMP) option is chosen here.
– The “None” option will make your network public, which means it does not require a password to connect and anyone can join.
– Please note, it is most secure for networks to stay on the Mixed Mode encryption unless there is a need for it to change to the Personal (PSK + CCMP) or “None” option.
4) From the drop-down, choose the encryption type that best fits your needs. Repeat this process for the 5GHz section.
5) Finally, click on apply at the top, and you are done!