Urgent: Beware of Email Scams If you receive any suspicious emails claiming to be from us, please do not engage with them. Instead, forward them to our support team at support@seidata.com for verification.Stay vigilant and protect your personal information. Together, we can combat phishing attempts and keep our community safe.
Select Page
Adtran Parental Controls
SEI Communications, Inc – A Total Internet and Communications Company
1) From a web browser, go to “http://192.168.1.1”. Login with the username “admin” and the password “seiadmin”.
– To determine a device’s IP address, click on the Devices drop-down in the left-hand navigation bar, and then on Connected Devices.
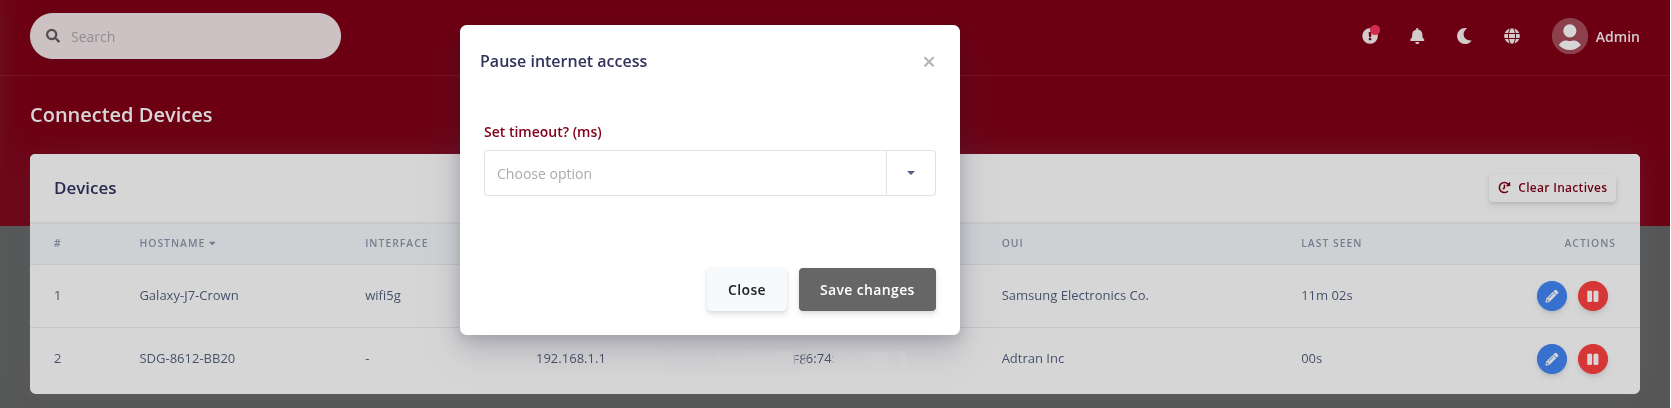
2) Under the Connected Devices section, click on the pause button icon (||) next to the device you want to pause internet access on. – DO NOT EDIT THE DEVICE WITH THE IP ADDRESS 192.168.1.1. THAT IS THE ROUTER ITSELF.
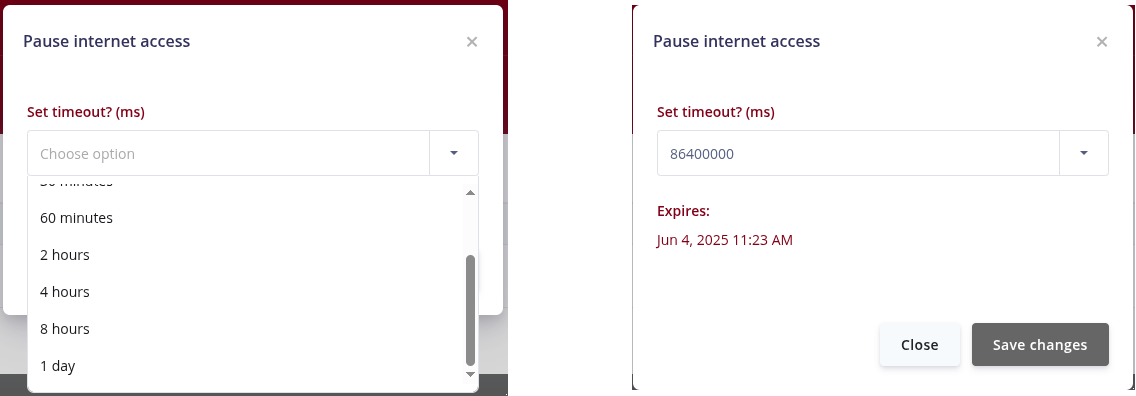
3) From the drop-down menu, select how long you want the device to be offline. You can also type the number in the box.
– The time pause is set to milliseconds (ms). For example, a week of no internet would be 604800000 ms.
– Then, select the days to set the times. In this case, school days Monday to Friday.
4) Once a time is set, click on save changes.
– The pause button icon will change to a play button icon.
– To allow the device back online, either wait until the time has expired or select the play button next to that device.
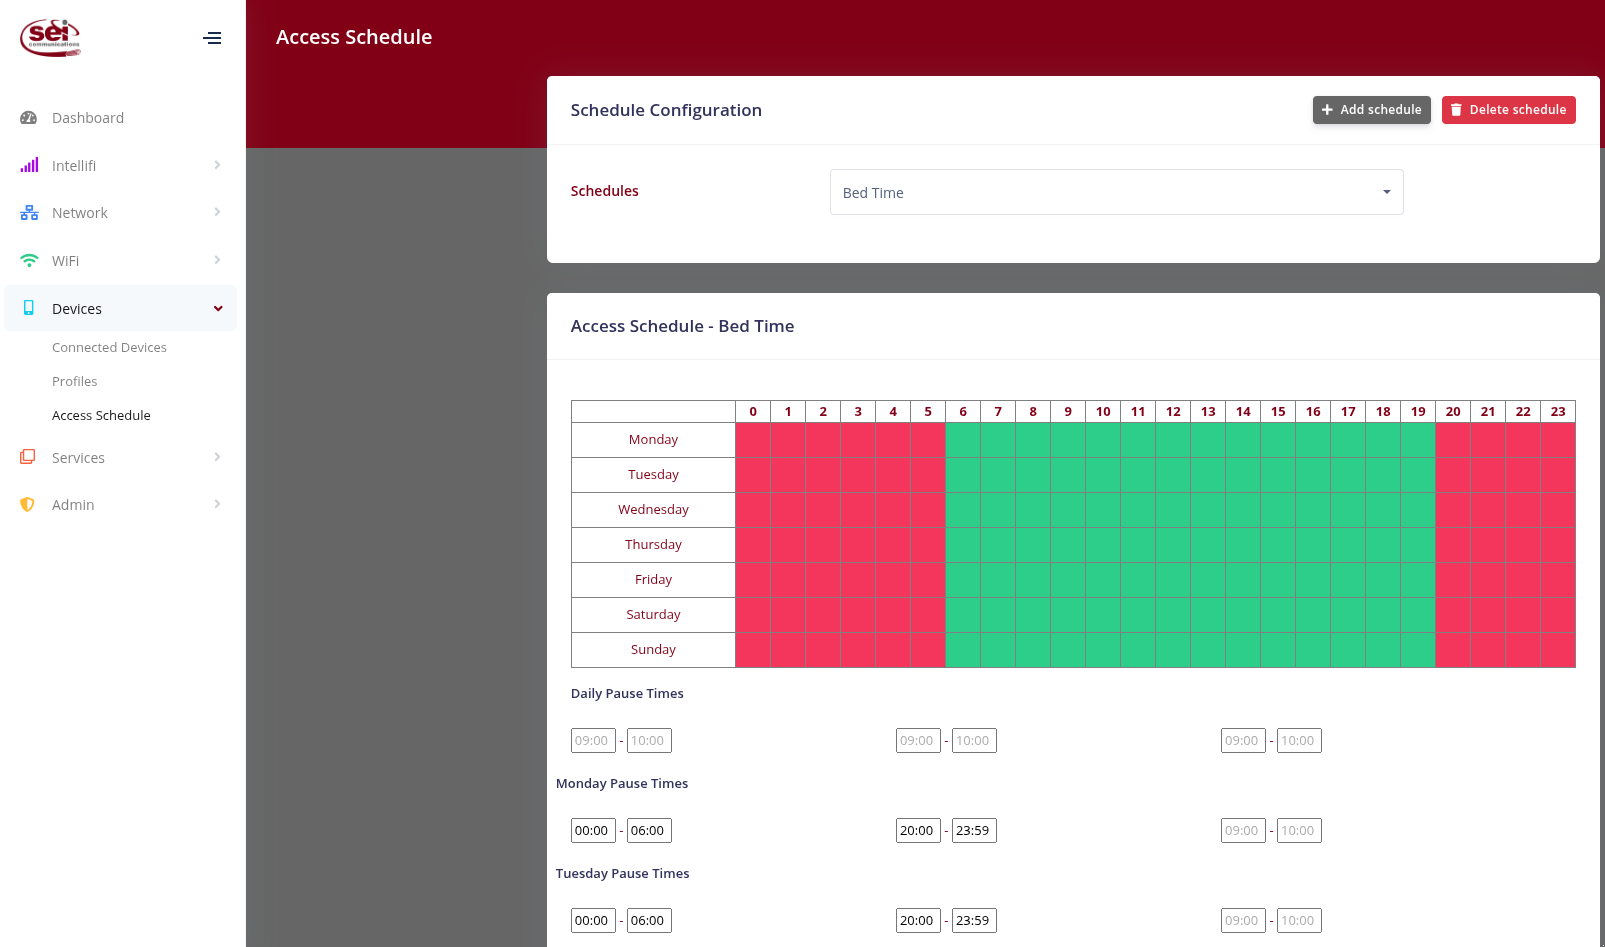
5) To extend the limited internet access to different days of the week, select Access Schedule under the Devices section in the left-hand menu.
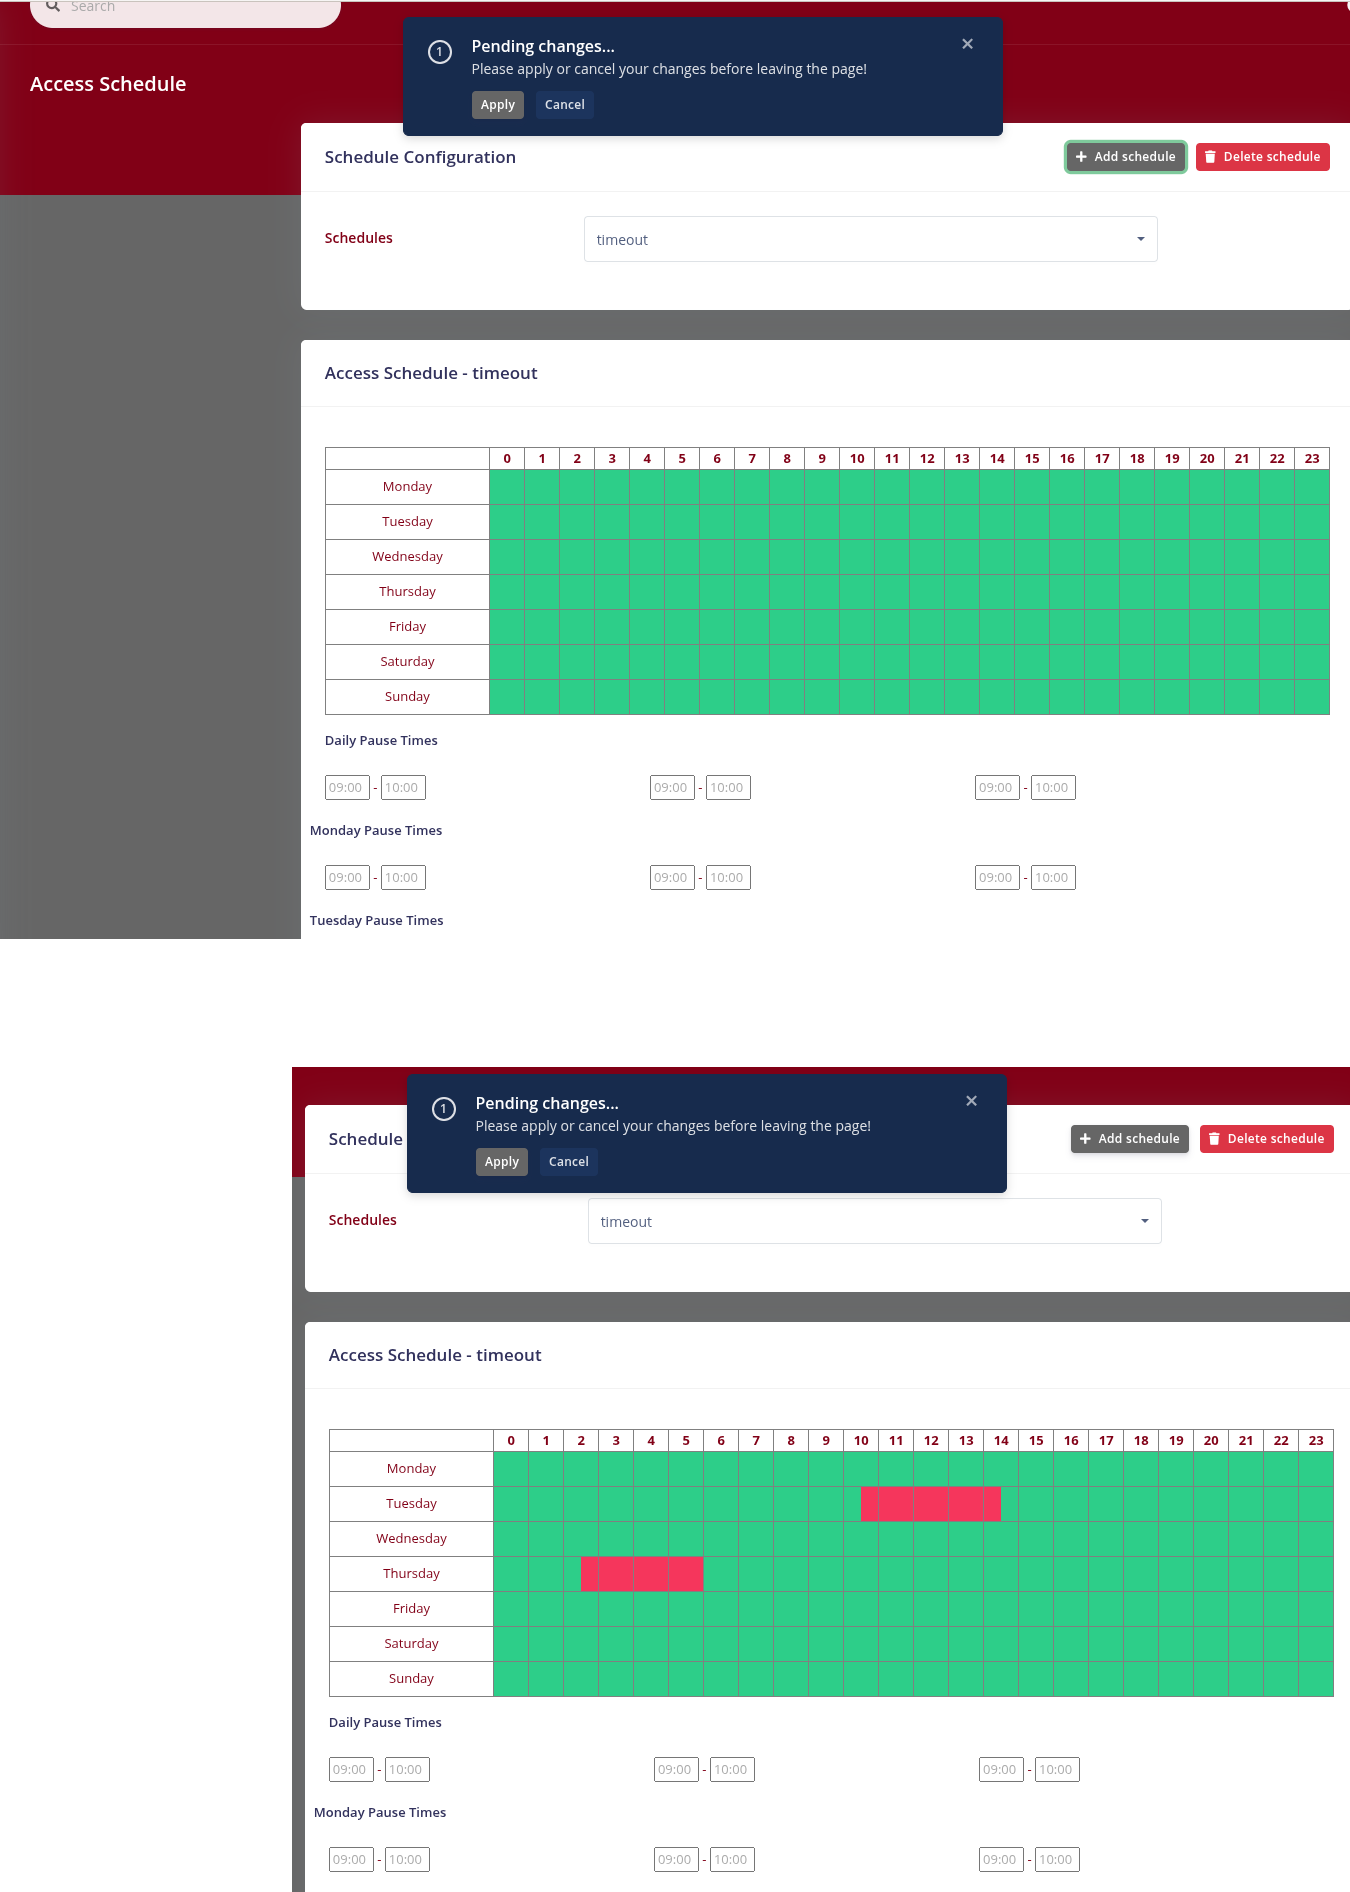
– The times are in Military Hours. In this case, 20:00 is 8:00 PM for the starting time and 23:59 is 11:59 PM for the ending time. While 0:00 is 12:00 AM for the starting time and 06:00 is 6:00 AM for ending of the pause of internet. This ensures devices can only be connected to the internet from 6:00 AM to 8:59 PM, which is color coded in the Access Schedule.
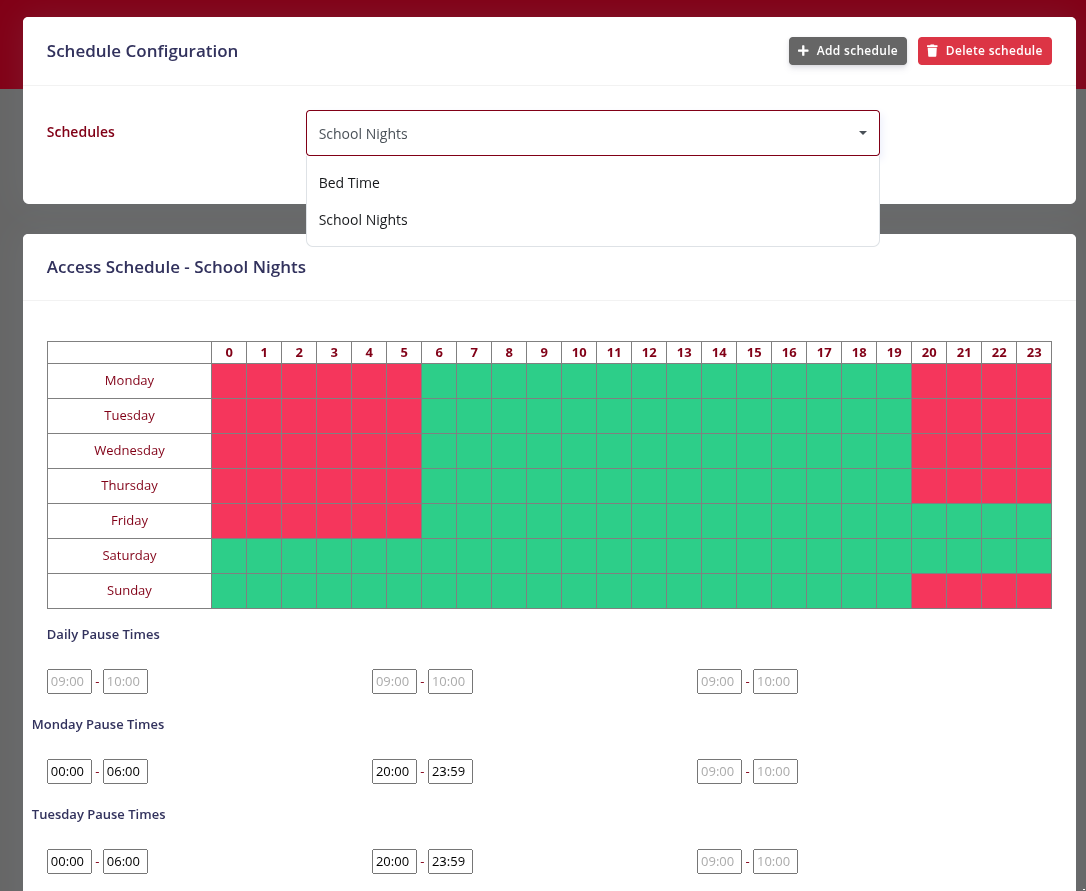
– There are two default schedules you can select and make edits to if needed:
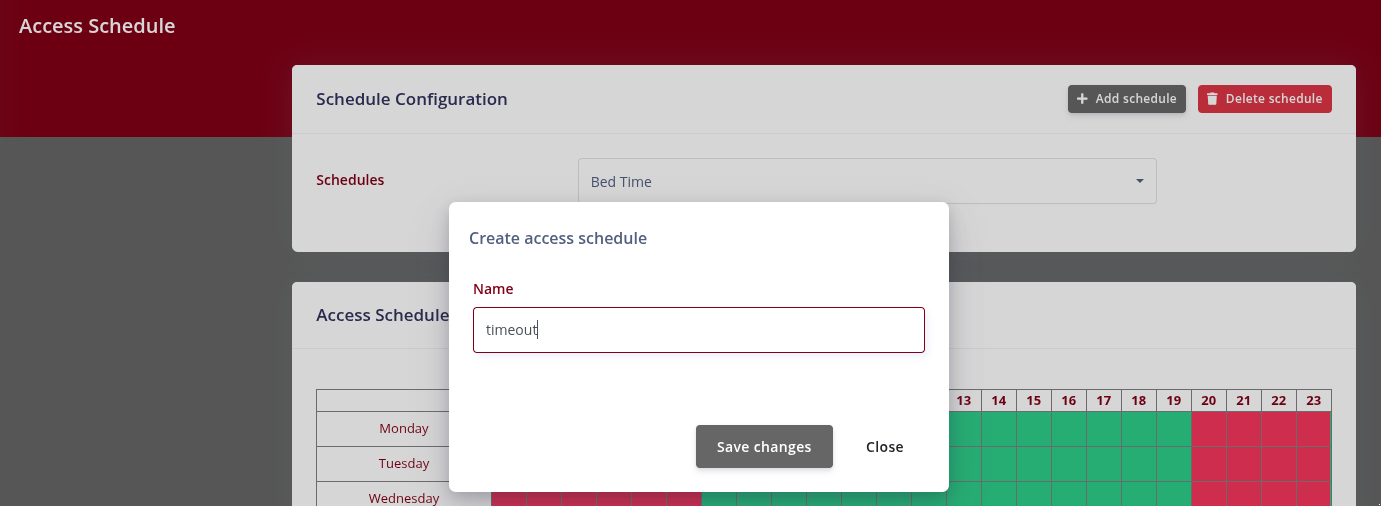
– To create your own schedule, select the “+ Add schedule” button, give it a name, and click on save changes.
– Enter pause times for the schedule you created, and click on the “Apply” button when you are finished.
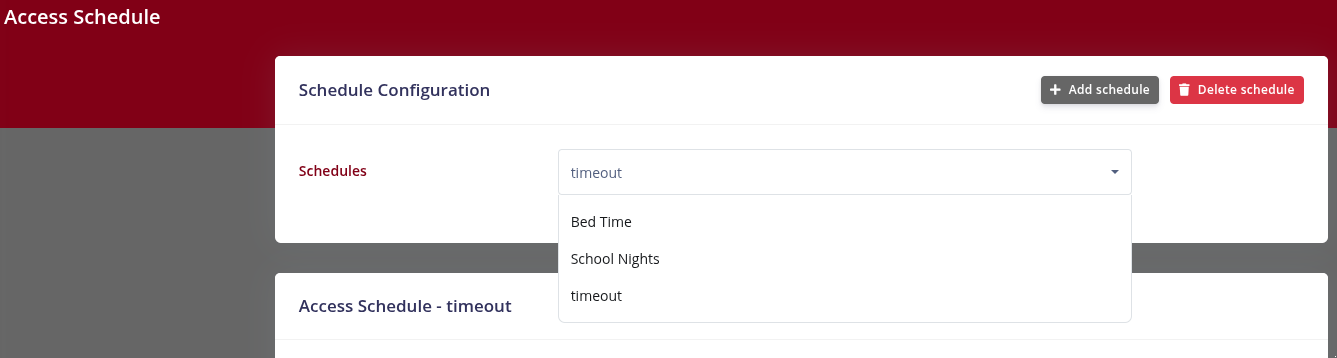
– Once the changes have been saved, the new schedule should appear under the drop-down.
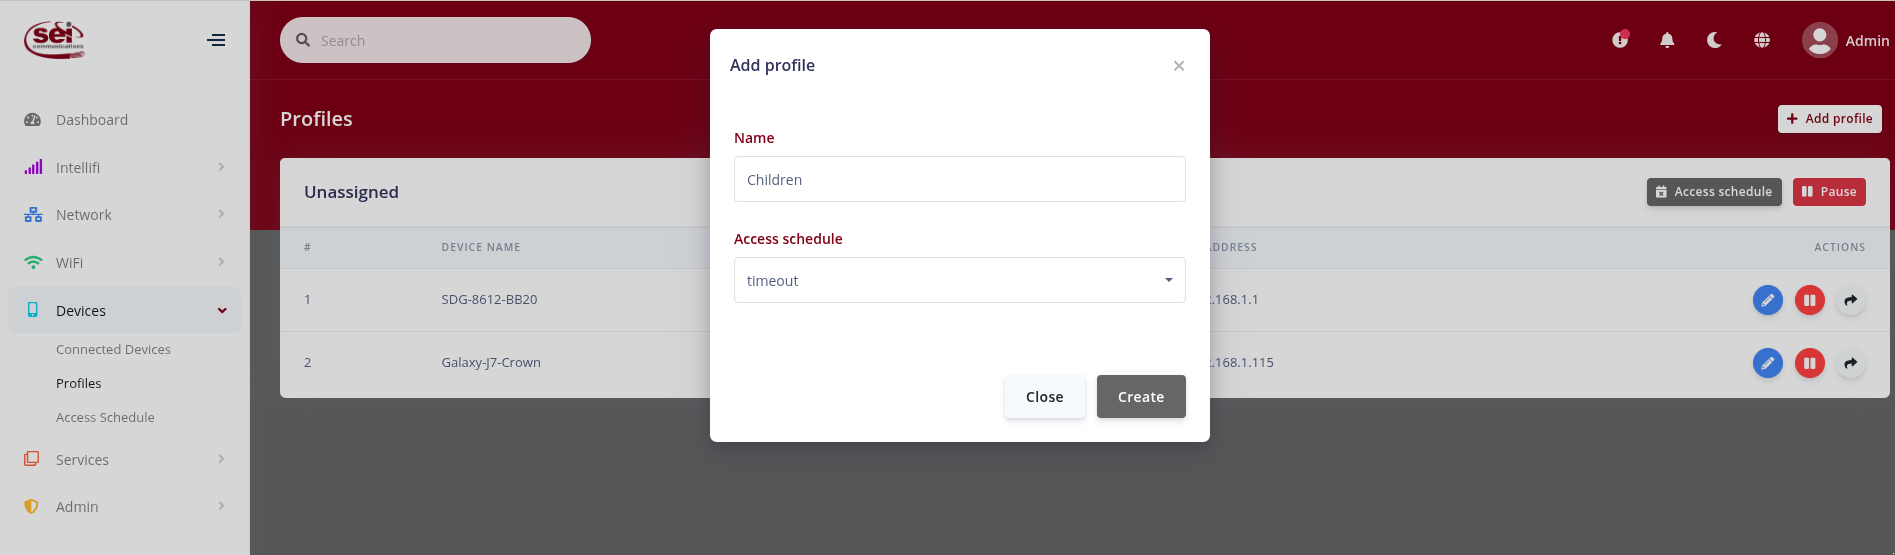
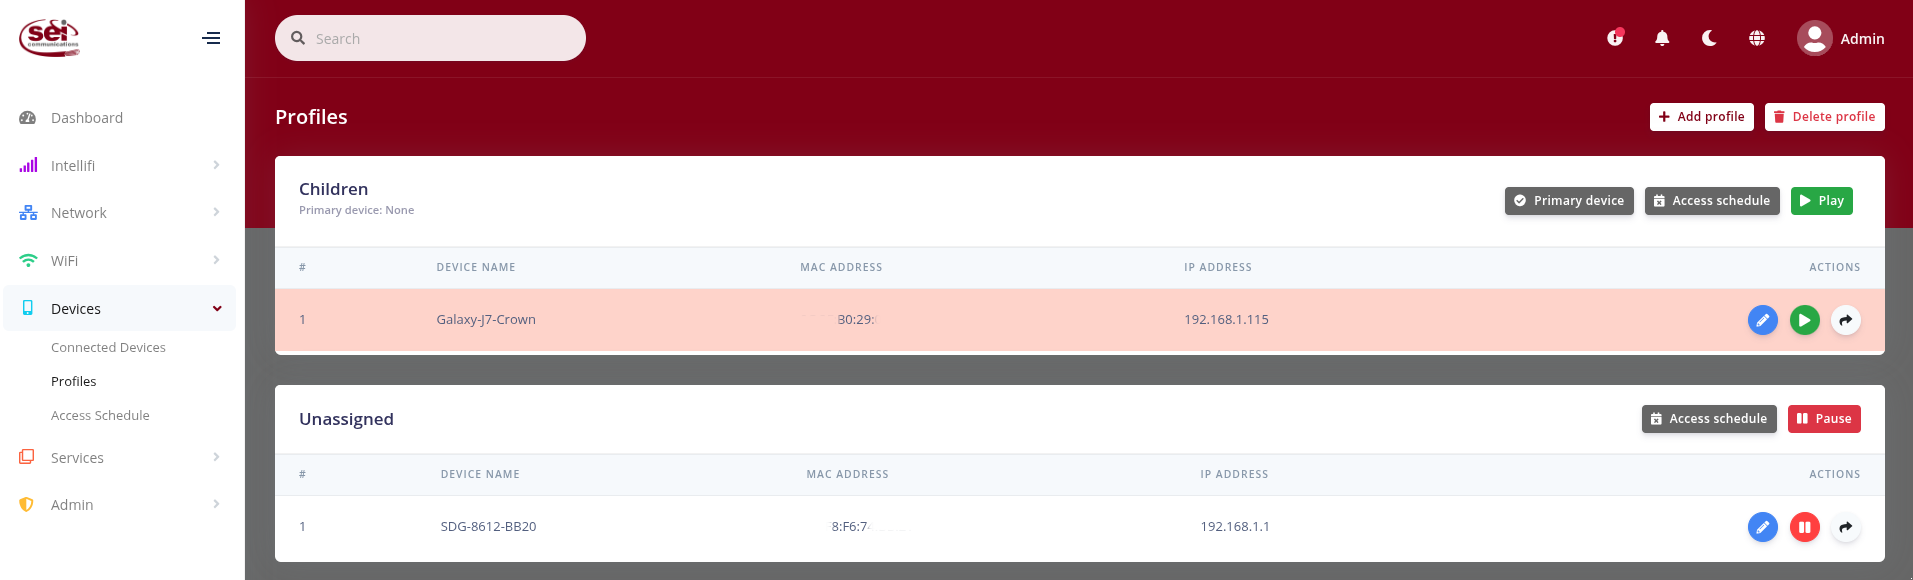
6) To apply schedules to certain devices, go to Profiles under the “Devices” section in the left-hand menu.
– Click on “+ Add profile” to create a group of devices that will be assigned to the same Access Schedule.
– Once the new profile is created, devices can be assigned to that profile.
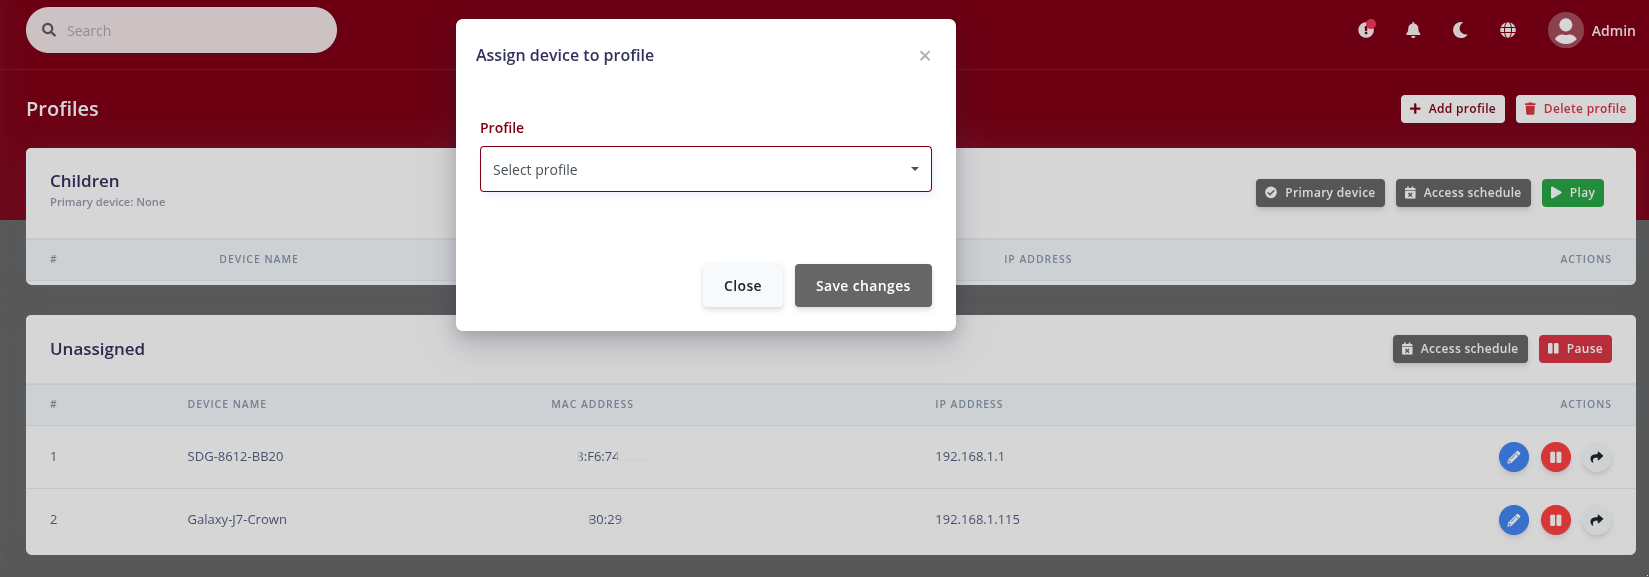
– To assign a device to a specific profile, go to the “Unassigned” section on the profiles page, and click on the arrow icon under “Actions” for that device.
– Choose the profile you want to assign the device to, and click save changes. The Access schedule for that device should be updated immediately based on the profile it is assigned to.
7) You are now done. Specific devices should now have limited access to the internet based on the schedules and profiles you have created.